· Please read this explanation carefully before your transcription.
Our New Model of AAF Decals for leather can be transcribed more easily and quickly than the classic style decal. However, things to note are more or less same as the classic style decal. There are many types of leather in the world, and different finishes as well, some of which may not fit our reproduction decals. We do not guarantee satisfactory with results without failure for all types of leather. Also, the decal is a very thin film. We do not guarantee the damage of decals during transfers or the loss of clothing caused by transcription errors. We sincerely hope that your decal transcription will be completed with satisfactory results without failure.
★ The items & tools for applying the transfer
1) Leather garment for applying the transfer
2) Decal (1C, 1" x 1"), hopefully 3pcs in case it fails
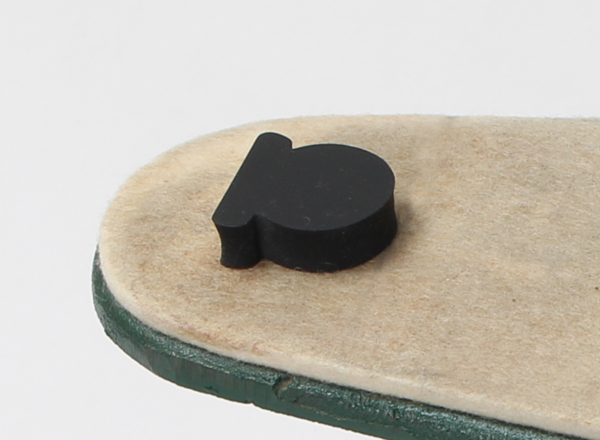
3) Rubber Board(1cm thick) for 1" x 1" AAF Decals
Rubber Board can convey properly the heat and pressure of the iron only to the transcription surface. And it also can prevent the traces of iron remaining on the leather.
4) Scissors
5) Soft brush
6) Stopwatch or Wrist watch
7) Iron (No steam type)
8) Small ironing board or Wooden board/Books
9) Small tray or Cup with plain water
10) Tissue Paper
11) Soft cotton cloth
12) Electric Dryer
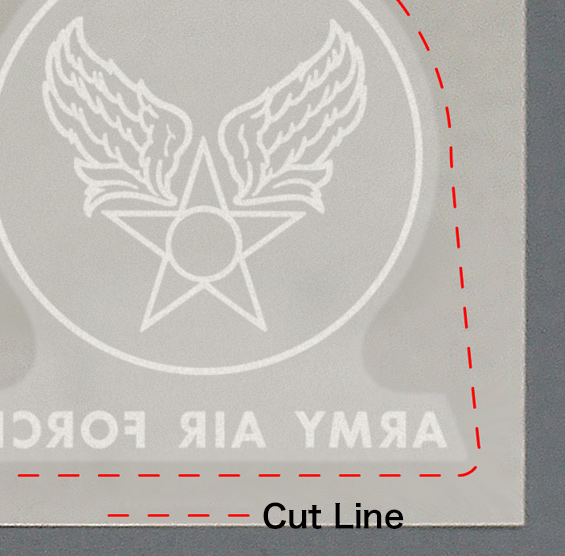
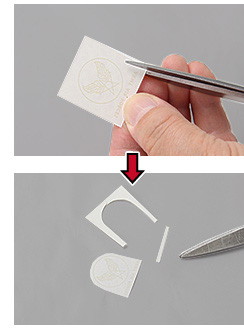
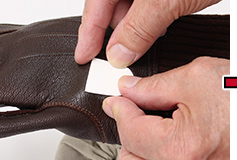
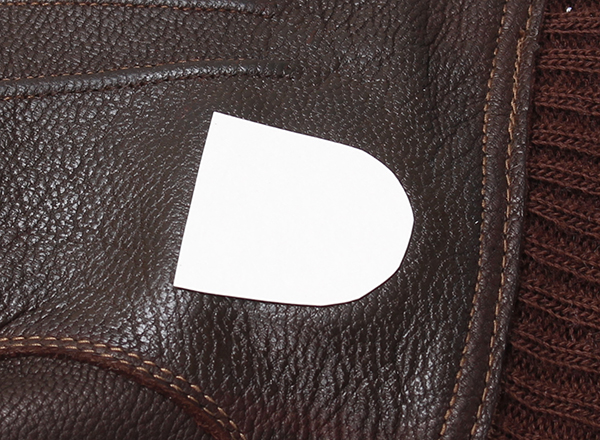
1) Cut out the decal paper(refer to the photo).
This is to be able to position accurately the decal at the same position as the rubber board.
Note) Do not put the scissors into the transparent seal.
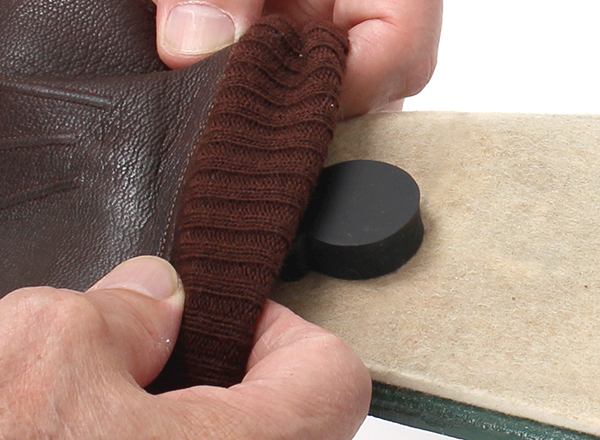
2) Set the glove on the Small ironing board.
Set the rubber board at the right position between the glove and the small ironing board.
3) Wipe off the dirt of the transfer surface.
Wipe lightly with a damp cloth the leather surface of the transcription position.
Note) Make sure that leather paint color does not adhere to the damp cloth at the inconspicuous part before the wiping off.
4) Warm the transfer surface by the electric Dryer
Warm the transfer surface by the electric Dryer when the room temperature is under 10 degrees Celsius.
5) Place the Decal paper at the correct position
Place the Decal paper at the correct position where the rubber board was placed underneath.
Note-1 Make sure, the non-printed side upward, the printed side downward.
Note-2) Make sure that the decal does not protude from the rubber board.
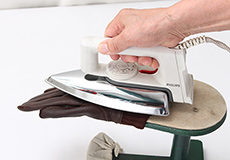
6) Ironing from over the decal paper
Recommended temperature of ironing is about 130 degrees Celsius which is the center of wool position. Time of ironing is about for 10 seconds. Pressure of ironing is about 12 to 15 kg by small iron.
Note-1) Do not move the iron while heating.
Note-2) If the iron is steam type, make sure to turn off the steam switch and use the flat area without the steam holes.
7) Natural-cooling the decal paper
Natural-cooling for about 1 minute after ironing.
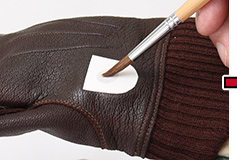
8) Wet the surface of the mount of the decal paper using the brush.
After natural-cooling, wet the surface of the mount of the decal paper using the brush until the entire design can be seen through the mount.
9) Left for about 1 minute, until entire mount is wet completely.
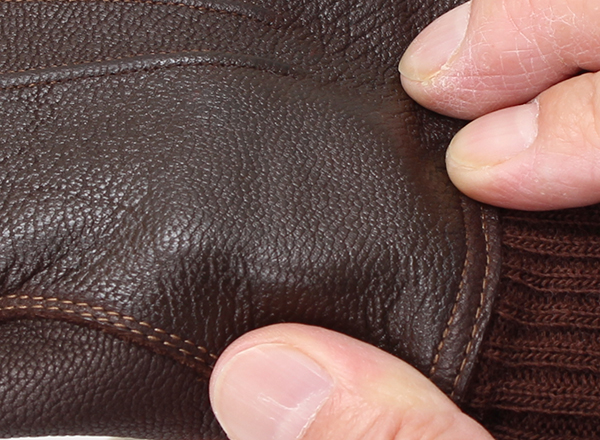
The Decal is pasted on the mount with a water-soluble glue. The mount can be removed by wetting the back of the mount. First, try to move down the mount slightly with fingertips to confirm the mount is disengage from the decal. Then, lift the lower end of the mount with the fingertips and peel off the mount slowly from the decal.
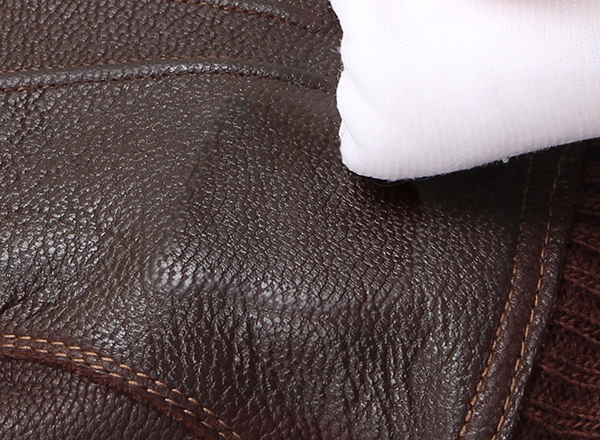
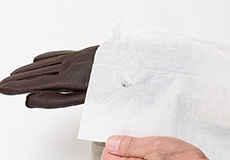
10) Remove the water of the peripheral the decal by a tissue paper.
Place a tissue paper gently over the transcribed decal and remove the water.
Note) Do not press the tissue paper to the decal. The trace of the tissue paper will remain on the decal.
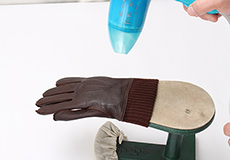
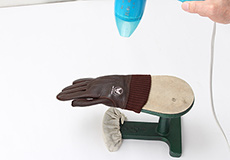
11) Blow warm air in a dryer to the decal.
Blowing hot air is prohibited. Blow warm air to the decal from a distance at least 25 cm away for about 20 to 30 seconds to remove the rest moisture from the surface of the decal and leather.
12) Remove the rubber board and keep the gloves in a flat state for more than 1 hour.
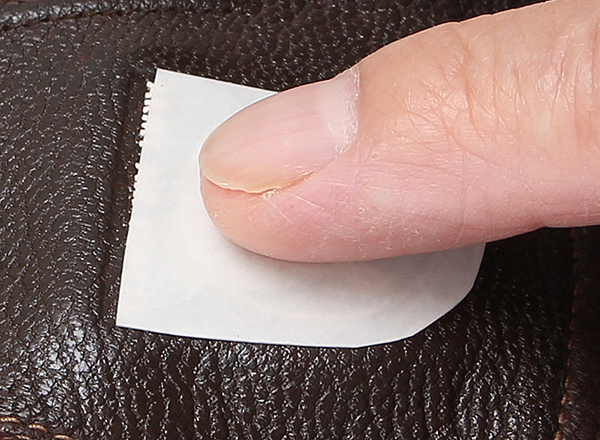
14) Remove the failed decal after completely dry.
Failure is inherent to all works. Failed decal can be removed by rubbing your fingertips lightly at the edge of the decal so as not to damage the leather. One of the advantages of this decal is that the failed decal can be removed without much damages of leather.
Note) If hardly peeled, it might help peeling somewhat that rubbing with a small amount of water ahead of a fingertip or cotton swab.
How to transcribe Decal without Rubber Board
If you do not mind about the iron trace leaving at the surface of the leather after applying the transfer the decal and do not expect better finish, the instructions shown below is for applying the transfer the decal without Rubber Board.
INSTRUCTIONS for without Rubber Board
1) Unnecessary
2) Same except using the Rubber Board.
3) & 4) Same
5) Same except using the Rubber Board.
6) - 11) Same
12) Keep the gloves in a flat state for more than 1 hour.
Caution for leather Conditioner/Cleaner
Avoid using the Leather Conditioner/Cleaner to the decal surface and the peripheral. There's a possibility of the early peeling of the decal.
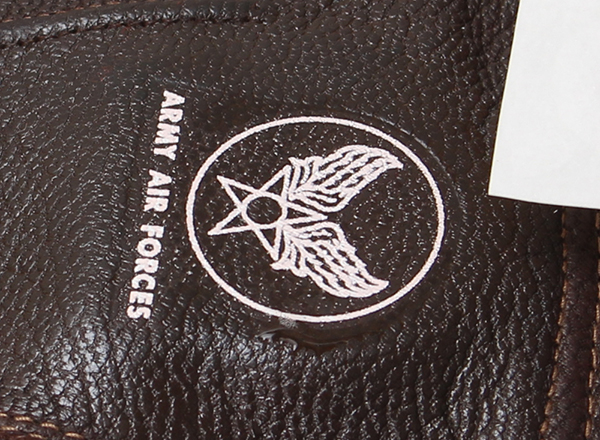
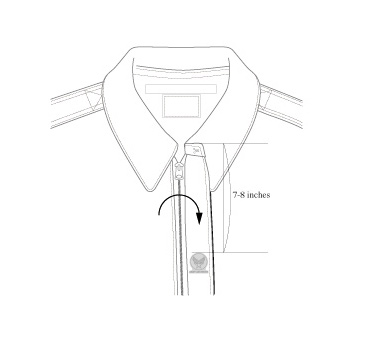
★ Decal Position - Outline 1C, 1" x 1" for A-2 & B-3 ★
Decal(1" x 1") was used extensively for the AAF garments such as Flying Jackets, Flying Trousers, Frying Gloves, Flying Caps. . . Refer to the below illustrations. They show the position for the decal(1" x 1") of A-2 & B-3.