Instruction by Attaching Stick
This instruction is showing for the process of attaching Press Studs(15.24mm), also can be used for DOT-Mini.(13.34mm) in same process but the hole sizes to make cloth or leather. Please refer to the process 1).
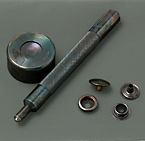
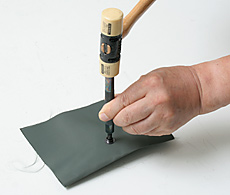
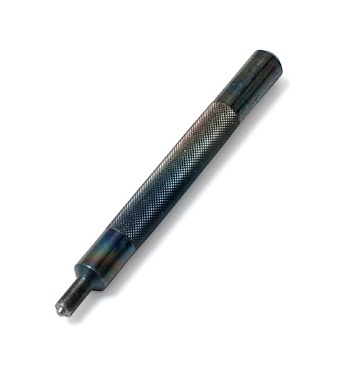
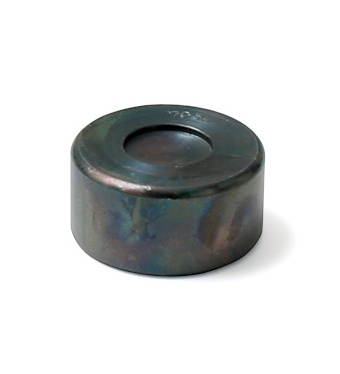
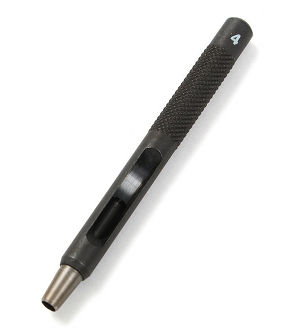
This is a Simple Attaching Stick and Base Tool for attaching Press Studs. It might need practice some times before you attach them on your collections.
1)
Make a 4mm hole (in diameter) in the fabric(leather) by a punch.
tip-1) 3.5mm holes might be better for thin fabric or leather which are easy to stretch.
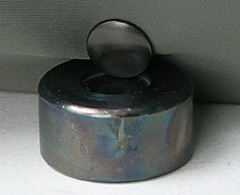
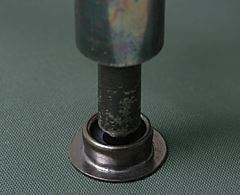
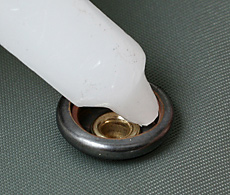
2)
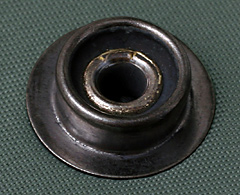
Through the leg of the Cap in the hole. Put the head of the Cap on the base tool.
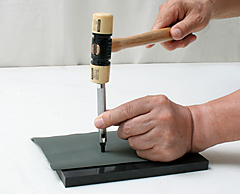
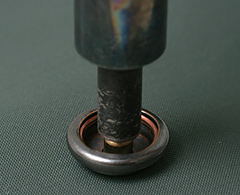
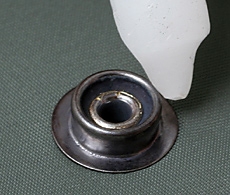
3)
Put the socket through the leg of the Cap. Put the Attaching Stick on the top of the leg and hit the head of the Attaching Stick by a hammer till the Cap does not move. Keep straight the Attaching Stick while you are hitting.
tip) You might have a rent at the edge of pressing. It is still normal and can be fastened without a problem.
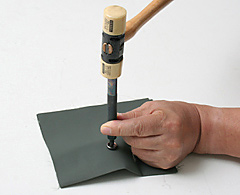
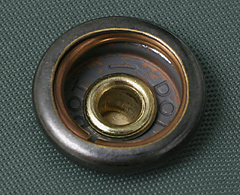
4)
Same as 2) & 3), through the leg of the Post in the hole, put the bottom of the Post on the turned base tool or a hard flat area on a table. Put the Stud through the leg of the Post. Hit the head of the Attaching Stick till the Post does not move.
5)
As you might know, US Military always use hard spring type for this type of Press Studs. It is really hard enough. We recommend you to wax to the spring and the around of the Stud before you press them. Otherwise, you might be having a damage on the fabric or leather when you open the studs.